CAVEAT: You need enhanced ecommerce data Layer features enabled in order for this to work as per my examples below.
Did you know, when you have enhanced ecommerce tracking installed via dataLayer on your ecommerce website, you can access the information within the object in addition to just sending information onwards to Google Analytics. I’ve recently written on how you can reshape this information into fully-featured Facebook pixel ecommerce tracking, but its application is not limited to Facebook and Google alone.
Bing has a fairly rudimentary ecommerce tracking API built into its event tracking pixels. through Tag Manager, it’s implementation has recently got a lot easier with the addition of the “Bing Ads Universal Event Tracking” tag type, but you’re often still left with the challenge of extracting the transaction value from the success page, or reading it from elsewhere. If you’ve already gone to the trouble of adding enhanced ecommerce via the dataLayer to your website, then you already have all the information you need to hand.
First of all, set up a new trigger, if you don’t already have one, for a purchase event. This could be a custom event, or a specific pageview (limited to a specific page path), depending on how your website is configured to send purchase information to your Data Layer.
Next up, head within Tag Manager to your User Defined Variables section and create a new one of the type “Data Layer Variable”. Then enter the data layer variable name as: ecommerce.purchase.actionField.revenue. Save this Variable in Tag Manager as something like “Transaction Value”.

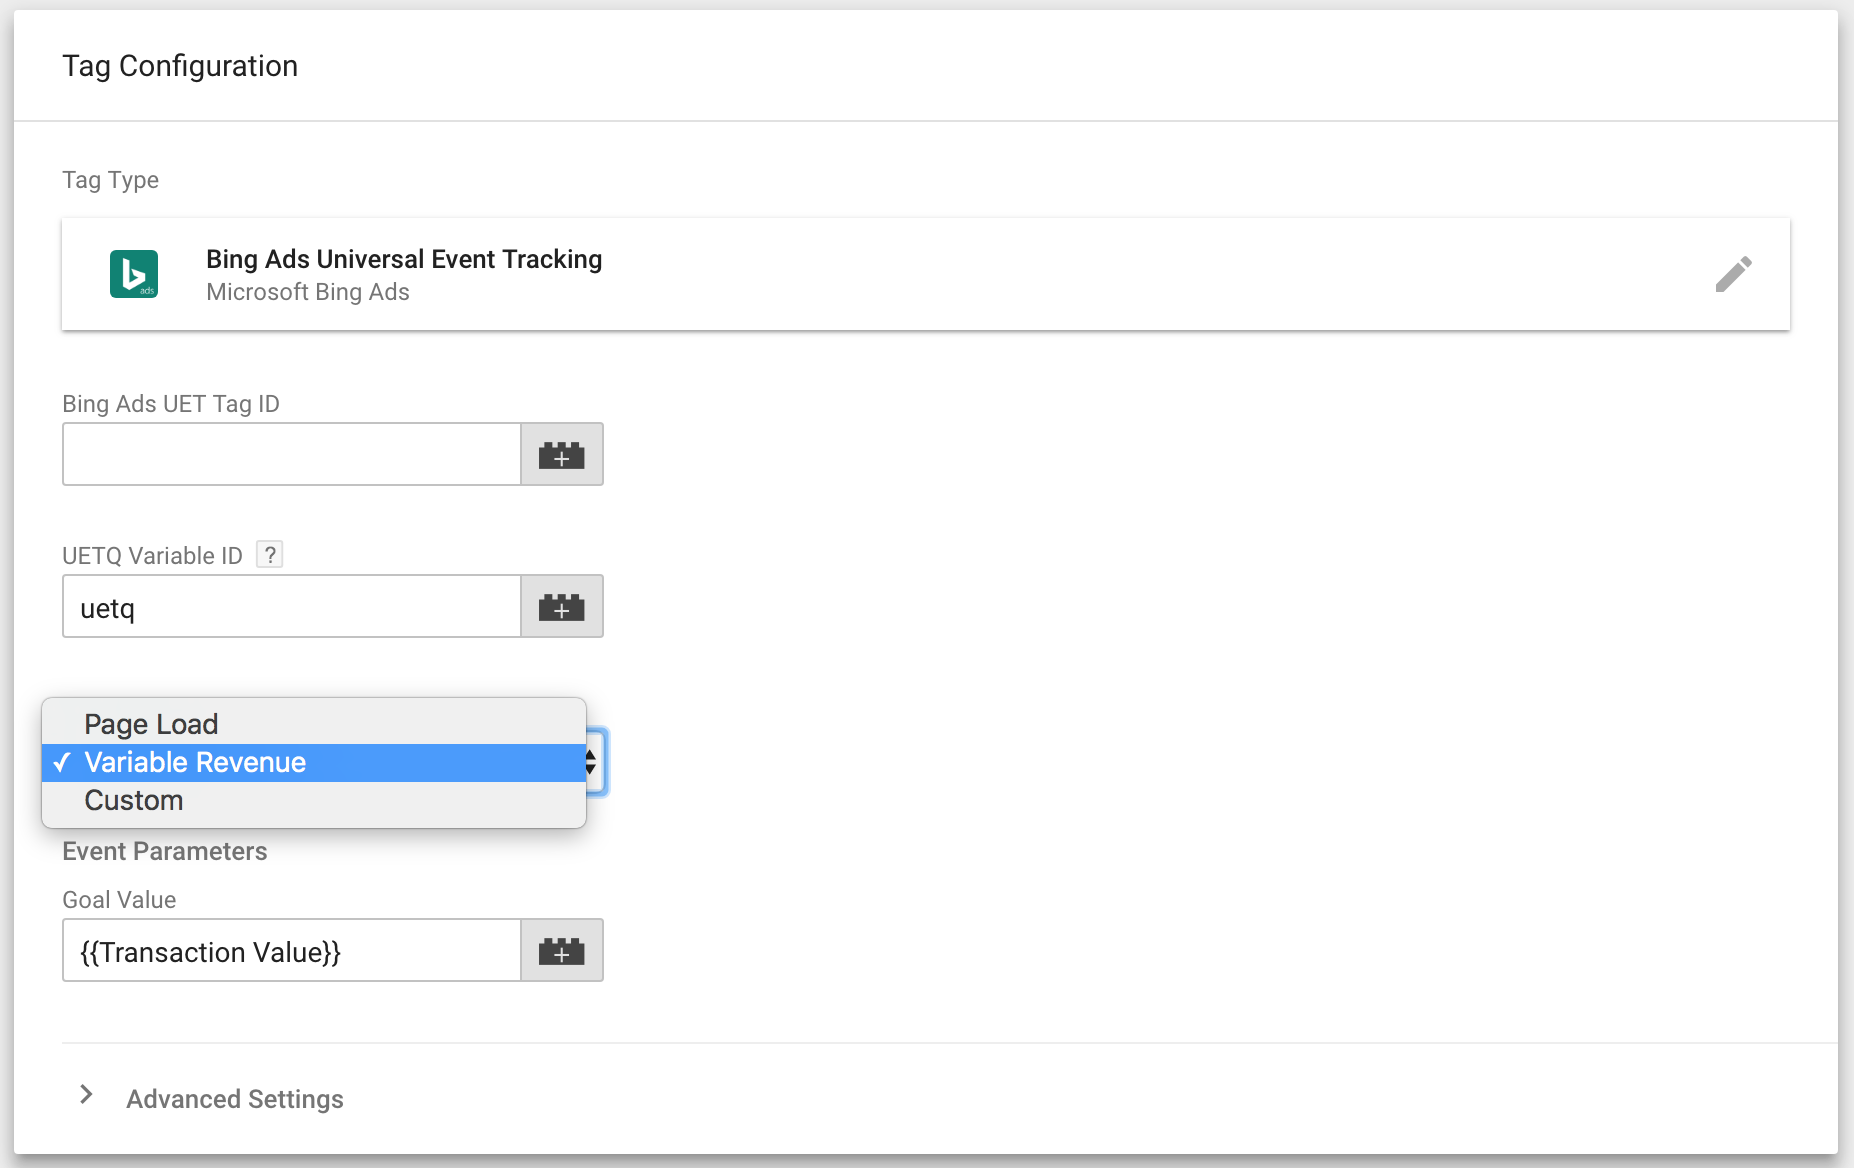
When adding the UET tag under Tags > New > Bing Ads Universal Event Tracking, select the type to be “Variable Revenue” and then use the following input field to select the Tag Manager variable name you just saved (i.e. {{Transaction Value}}). It will appear in handlebars as all GTM variables do.

Finally, apply the “purchase” trigger you created earlier to this tag so that it only fires when the ecommerce information is available on the page.
That’s it! Preview and test, then deploy once you’re happy with your setup.
If you’re keen to experiment with taking additional information from the dataLayer ecommerce object, then you can access a number of additional data points in the same way, namely:
Transaction ID:ecommerce.purchase.actionField.id
Revenue:ecommerce.purchase.actionField.revenue
Tax:ecommerce.purchase.actionField.tax
Shipping fees:ecommerce.purchase.actionField.shipping
Coupon Code used:ecommerce.purchase.actionField.coupon
And if you want to see how we manipulated the products array into another format, check out my post on using this data to form Facebook ViewContent events here.


